How to Make a Bed in 6 Steps
1 | Start with a Bare Mattress
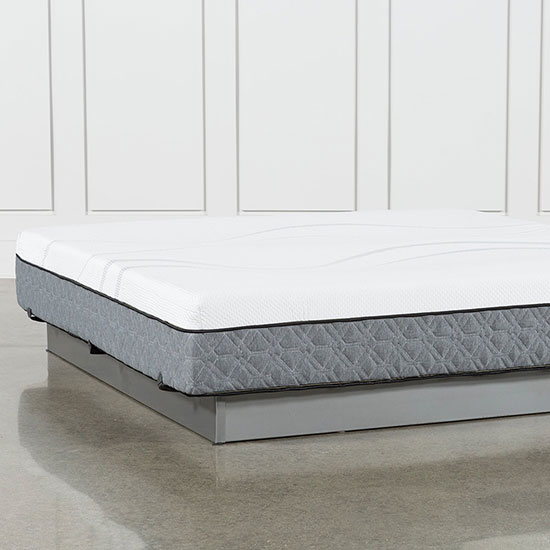
If you wake up every morning surrounded in rumpled bedclothes, then the first thing you need to do – before you start smoothing out wrinkles and tucking in corners – is to remove all dressings from the mattress. Tear off the sheets, blankets, pillows and covers, and set them aside on a nearby chair or bench (or other surface away from the floor). This will give you a clean base to start with and prevent any superfluous unfolding.
Expert Tip!
Before you go to sleep every night, remove the duvet and any decorative pillows or blankets. This will save time when undressing your bed in the mornings.
Start with a bare mattress every morning to effortlessly smooth out wrinkled sheets and blankets.
2 | Create a Comfortable Base with a Mattress Pad
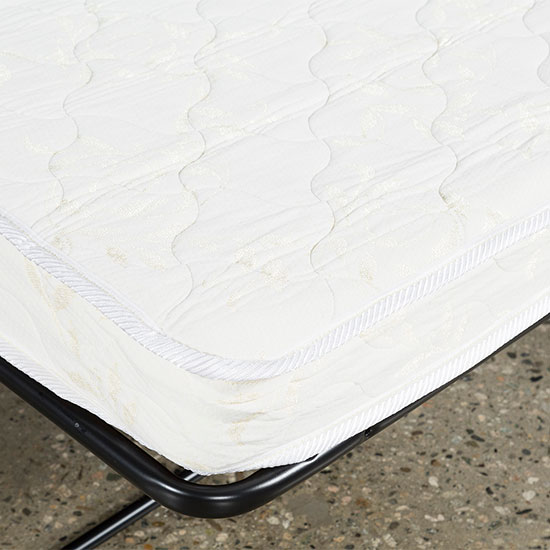
A standard mattress pad will come with elastic edges, making it easy to stretch over each corner of the mattress. Make sure that all edges are completely covered and that the ends of the pad hug the mattress’s bottom. Note that if the pad doesn’t fully cover each side and corner – or if it does cover each side and corner but doesn’t easily create a smooth, tight surface – then check your mattress size, which may be too small or big. (The right fit for a King-size mattress will be a King-size mattress pad, and so on.)
Expert Tip!
If you want the extra cushioning but don’t want the extra step in the morning – nor an extra laundry item – opt for a mattress with a built-in plush pillow top.
Create a smooth, even base for your sheets and duvet – and add a layer of mattress comfort and protection – with a mattress pad.
3 | Add a Fitted Sheet
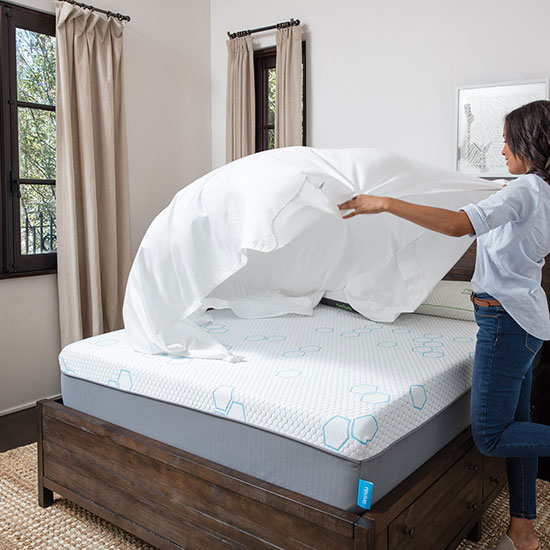
Next comes the fitted sheet, which, as with the mattress pad, can be identified by its elastic edges – and which will act as the outermost layer between you and your bed. Create a luxuriously crisp, fresh look and feel by stretching it tight across the entire mattress.
Expert Tip!
If you are using a loose sheet instead of an elastic sheet, help ensure a secure fit by carefully inspecting the perimeter of the entire bed, checking that each edge is pulled under the body of the mattress for a snug, wrinkle-free appearance.
Prevent straying and slipping by making sure all edges and corners are firmly tucked underneath.
4 | Layer on a Loose Sheet
Once you have a mattress tightly fitted with a pad and base sheet, lay a loose, airy sheet on the top edge. Let the center of the sheet fall directly over the center of the mattress, and let the edges drape neatly around all sides of the bed. Don’t worry about untucked corners or long edges that skirt the bedframe, both of which can easily be hidden from view by a bedspread.
Expert Tip!
It is recommended that bedsheets be washed once a week, but if this, realistically, is not doable, then keep one or two extra sets on hand for fresh rotations every couple of weeks.
Layering a clean, loose sheet of any thread count between you and your duvet will help keep your duvet fresher longer.
5 | Top Off with a Duvet
Now comes the fun part – styling with a puffy, colorful duvet! As with the loose sheet, carefully align the center of the duvet over the center of the mattress, so that its sides drape over the sides of the loose sheet. For a sleeker look, tuck the edges of both the duvet and loose sheet under the mattress – or leave them out for a cozier feel.
Expert Tip!
Layer a comforter or bedspread over the duvet to add even more height to the overall look of your bed.
Choose a duvet color or pattern that matches your bedroom style; muted colors and simple lines keep a calm ambiance, while unexpected florals or pops of color add a bit of energizing contrast.
6 | Throw on a Few Pillows and Blanket
Nothing makes a bed warmer or more inviting than a few fluffed-up throw pillows. Play with color and pattern to add a bit of depth and definition – and a whole lot of style.
Expert Tip!
Drape a strewn blanket – preferably with tassels! – off-center for an effortlessly relaxed-chic look.
DIY Bed-Making 101: How to Layer a Bed With a Quilt
While anyone can make a clean-looking bed following the steps above, creating a layered look takes an extra special skillset! Whether you're working with a Twin size bed, Queen size bed, memory foam mattress, innerspring or other type of bed, there are numerous ways to make it look fabulous. Here's how to do it:
- Pick a color palette. Don't let your layers become dizzying! From the head of the bed to the foot of the bed, stick with a simple color palette by choosing one shade and contrasting it with lighter tones of the same color. Also incorporate neutrals (like white, grey, beige) to create a calming aesthetic. Match with pillowcases and throw blanket colors.
- Vary your pillow sizes. While bedspreads are puffy, quilts are not, but pillows are a simple trick to create the illusion of extra plushness. Start at the headboard or the top of the bed with two of your largest sleeping pillows or throw pillows, then gradually decrease the size as you go closer to the foot of the bed. Incorprate different colors, patterns, levels of fluff and textures of pillows shams to create depth.
- Fold over a loose sheet or flat sheet. Loose sheets aren't just for comfort, they're also for aesthetics! When you place a quilt over your top sheet, fold the top sheet over about an inch or two; allowing the top sheet to peek through offers more color and texture contrast. This especially works if you choose a colored or patterned sheet that complements the quilt design.
- Drape a second blanket over the bottom of the bed. Near the foot of the bed, layer a second blanket over the quilt. Whether draped or folded, adding in a second piece will complete the look – and give guests the option of using the added layer if needed. Choose the blanket material based on the weather, going thicker in the colder months and lighter in the hotter months!
- For added height, use a box spring. Soft layers like throws, quilts and pillows can make a bed feel higher, but nothing will elevate like an added base. Go with a box spring not only for support, but for height aestethetic.
- Consider inserts for more fluffiness. As contrast for quilts, try pillow inserts or mattress toppers for added thickness and to give your quilts and blankets a little more "squish." Pillow protectors are another easy way to add thickness and warmth – they also happen to keep your pillows clean!
Making a Bed With Hospital Corners
For a crisp, layered bed look that won't get dismantled every time you snuggle in for sleep, try hospital corners! So named for the way hospital beds are made, these folds are easy and require only a loose sheet or flat sheet. Here's how to do them!
- Secure a fitted sheet or mattress protector sheet set around the top of your mattress (and mattress topper if you have one).
- Place a non-fitted sheet atop the fitted sheet. Typically, sateen, percale or cotton sheets are most common in standard hospital settings but any material works for residential settings!
- Tuck in the non-fitted (loose) sheet at the end of the bed only, avoiding the corners.
- Take the hanging portion of the sheet at the corner of the foot of the bed and bring it up to the top of the sheet so that it forms a 45-degree angle with the foot of the bed.
- Tuck in the remaining hanging portion of the loose sheet.
- Bring down the sheet triangle and tuck it into the side of the bed.
- For finishing touches, top off your hospital corners with comforter, throw blankets, duvet cover and bed skirt. For the head of the bed, incorporate pillows!
Make Your Bed - Then Sleep in It!
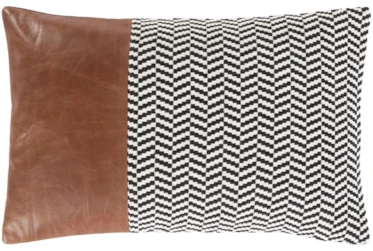
Accent Pillow-Herringbone & Leather Band 13X20
$69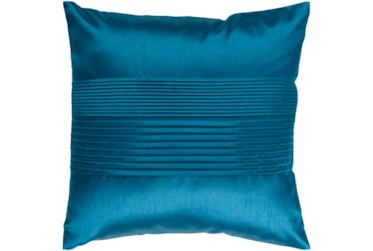
Accent Pillow-Teal 18x18
$12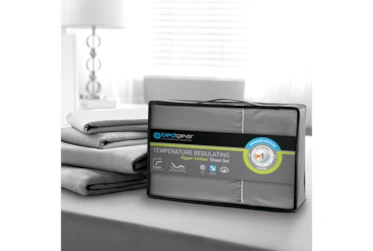
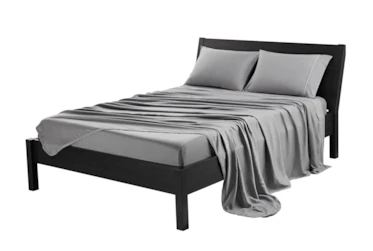
Sheet Set-Hyper Cotton Grey Queen
$199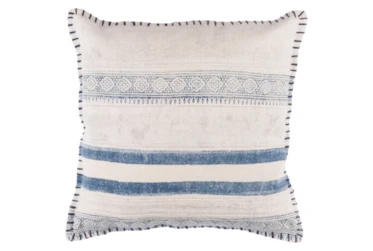
Accent Pillow-Lily Denim Stripes 20X20
$40
Luxury Microfiber White Queen Pillowcase Set
$30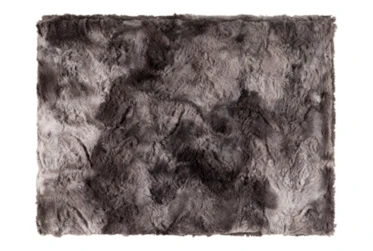
Accent Throw-Graphite Fur
$45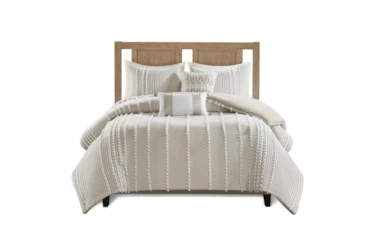
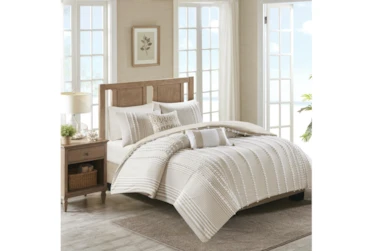
Eastern King Comforter-3 Piece Set Cotton Pom Pom Beige Rectangle | Comforters | Other
$168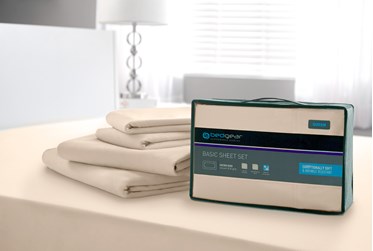
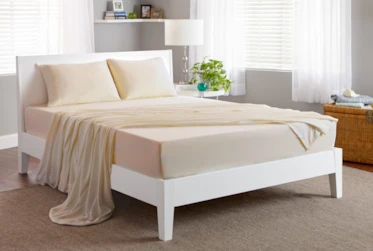
Sheet Set-Basic Sand Queen
$79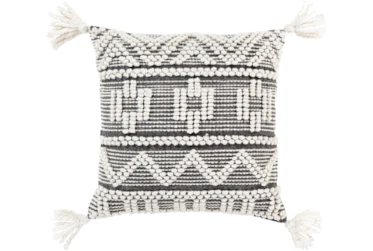
Accent Pillow-Knotted Stripes With Tassels Grey 18X18
$59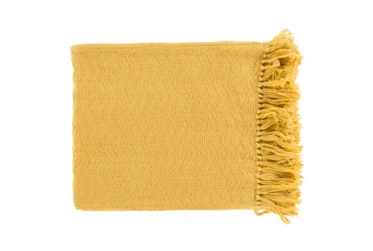
Accent Throw-Torra Gold
$40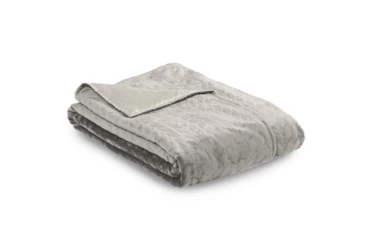
Pure Care Zensory Duvet Cover - Dove Grey 48" X 72"
$65
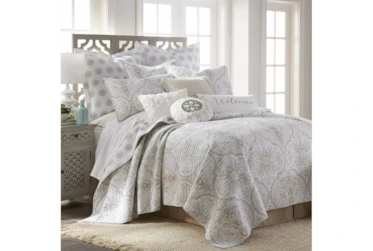
Full/Queen Quilt-3 Piece Set Reversible Medallion To Mini Medallion
$90Read the Latest
Editorial Disclaimer: Articles featuring tips and advice are intended for educational purposes and only as general recommendations. Always practice personal discretion when using and caring for furniture, decor and related items.
